Pronghorn Guided Hunts: A Comprehensive Overview
Embark on an unforgettable pronghorn hunting experience with guided hunts. Benefit from expert knowledge of prime locations and effective strategies. Outfitters offer comprehensive packages, ensuring a successful and ethical hunting adventure.
Understanding Pronghorn Hunting
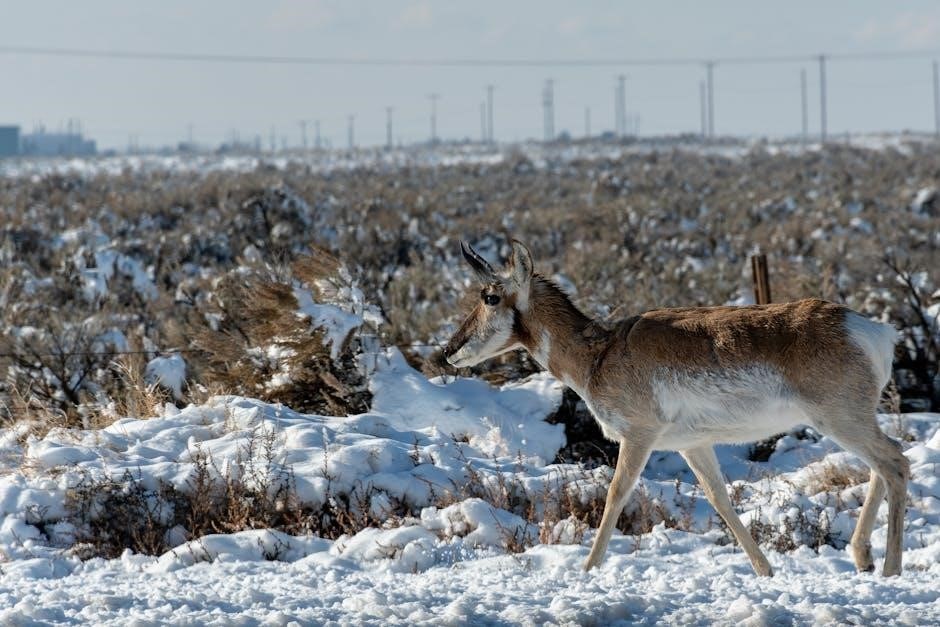
Pronghorn hunting presents unique challenges and rewards. These swift creatures inhabit open landscapes, demanding strategic approaches. Hunters benefit from understanding their behavior, habitat, and seasonal patterns. Guided hunts provide invaluable insights, increasing success rates. Outfitters offer expertise in spotting, stalking, and judging trophy quality. They also ensure ethical practices and adherence to regulations. Experienced guides enhance the hunting experience, sharing knowledge and fostering respect for wildlife. Grasping these fundamentals sets the stage for a fulfilling and responsible pronghorn hunt, creating lasting memories and a deeper appreciation for the natural world.
Choosing the Right Outfitter
Selecting the right outfitter is paramount for a successful pronghorn hunt. Consider experience, reputation, and area expertise. Ensure they prioritize ethical practices and hunter safety. Read reviews and testimonials before booking.
Factors to Consider When Selecting a Guide
When choosing a pronghorn hunting guide, several factors warrant careful consideration. First, assess their experience and knowledge of the hunting area, including pronghorn behavior and migration patterns. Check their success rate and client testimonials for evidence of their expertise. Ensure the guide is licensed and insured, adhering to ethical hunting practices and local regulations. Inquire about their guiding style and how well it aligns with your hunting preferences. Evaluate their communication skills and ability to provide clear instructions and feedback. Finally, consider the guide’s commitment to fair chase principles and respect for wildlife.

Prime Locations for Pronghorn Hunts
Discover the best states for pursuing trophy pronghorn. Success depends on location, so find the top states with the highest concentration of antelope. Look for reputable outfitters that know the area.
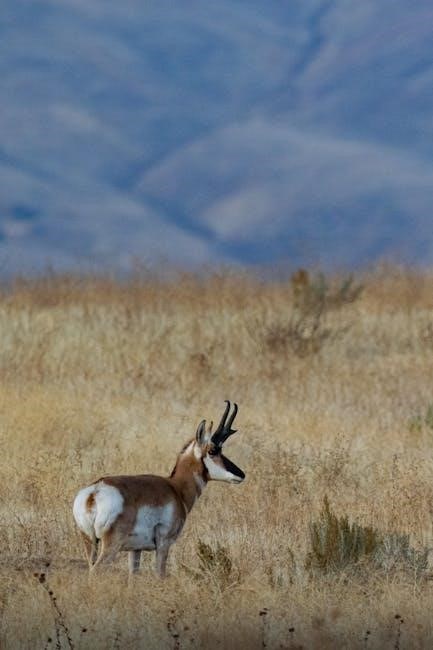
States Known for Trophy Pronghorn
Wyoming is renowned for its abundant pronghorn populations and vast open landscapes, making it a prime destination for hunters seeking trophy-class animals. New Mexico also offers excellent opportunities, with its diverse terrain and well-managed herds producing impressive bucks. Montana’s expansive prairies and limited hunting pressure contribute to the growth of large, mature pronghorn. These states consistently rank high for trophy quality and hunter success rates. Consider exploring these locations for your next guided pronghorn hunt, ensuring a memorable and rewarding experience. Researching specific hunting units and outfitter expertise within these states is crucial for optimal results.
Typical Pronghorn Hunt Packages
Pronghorn hunt packages typically include guiding services, lodging, meals, and transportation during the hunt. Some may also offer trophy preparation and permit assistance. Review package details carefully before booking.
What’s Included in a Guided Hunt
A guided pronghorn hunt usually encompasses several key elements to ensure a successful and enjoyable experience. Typically, professional guiding services are provided, leveraging the outfitter’s expertise in local terrain, pronghorn behavior, and effective hunting techniques. Lodging accommodations, ranging from comfortable camps to established ranches, are commonly included, offering a place to rest and rejuvenate after long days afield. Meals are often provided, catering to dietary needs and ensuring hunters are well-nourished. Transportation within the hunting area is generally covered, facilitating access to prime hunting spots. Some packages may also include field dressing, trophy preparation, and assistance with obtaining necessary licenses and permits, simplifying the logistical aspects of the hunt.
Essential Gear for a Pronghorn Hunt
Prepare for your pronghorn hunt with appropriate clothing, a suitable rifle, and quality optics; These essential items significantly impact your comfort, accuracy, and overall hunting success in the field.
Clothing, Rifles, and Optics Recommendations
For clothing, prioritize lightweight, breathable layers in earth tones to blend with the environment. A quality, flat-shooting rifle with a caliber suitable for long-range shots is crucial. Consider options like 6.5 Creedmoor or .270 Winchester. Invest in high-powered binoculars and a spotting scope to effectively locate and assess pronghorn at a distance.
A laser rangefinder is also essential for accurate shot placement. Don’t forget a comfortable and supportive pair of hunting boots for navigating varied terrains. A shooting rest or bipod can significantly improve stability and precision during your hunt.
Hunting Techniques and Strategies
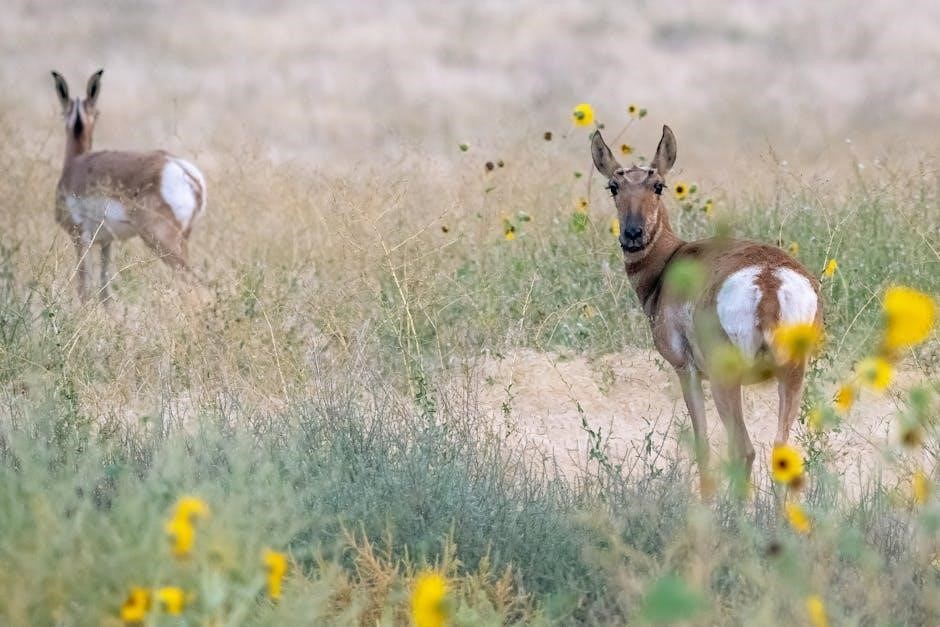
Master the art of pronghorn hunting with proven techniques. Spot and stalk methods, utilizing terrain for concealment, are effective. Decoys can lure curious pronghorn closer, enhancing your chances for a successful shot.
Spot and Stalk and Decoy Methods
Pronghorn hunting success hinges on mastering spot and stalk techniques. Glassing from vantage points helps locate pronghorn. Approach cautiously, using terrain for cover. Decoys, especially during the rut, can entice bucks. Consider wind direction to avoid detection. Patience and careful movement are key.
Effective decoy placement is crucial for drawing pronghorn within shooting range. Combine decoys with realistic calls. Adapt your strategy based on pronghorn behavior and environmental conditions. Ethical hunters prioritize fair chase and respect for wildlife. Success comes with skill and ethical practices.
Physical Preparation for the Hunt
Prepare your body for the demands of pronghorn hunting. Focus on cardiovascular fitness and stamina. Practice hiking with weight to simulate hunting conditions. Enhance your overall physical readiness for a more successful hunt.
Fitness and Stamina Requirements
Pronghorn hunts often involve traversing vast terrains, demanding a solid foundation of fitness and stamina. Hunters should engage in regular cardiovascular exercises, such as running or cycling, to improve endurance. Hiking with a weighted pack simulates the gear carried during the hunt, building crucial muscle strength. Incorporating hill workouts enhances leg strength, essential for navigating uneven landscapes. Core strengthening exercises improve stability and balance, reducing the risk of injuries. Adequate physical preparation ensures hunters can endure long days and challenging conditions, maximizing their chances of a successful and enjoyable hunt. Consistent training is paramount for success.
Ethical Hunting Practices
Upholding ethical hunting practices demonstrates respect for wildlife and ensures fair chase. Responsible hunters prioritize conservation and adhere to regulations. Ethical hunting preserves the integrity of the sport for future generations.
Fair Chase and Respect for Wildlife
Fair chase in pronghorn hunting embodies ethical principles, ensuring a sporting chance for the animal. This involves adhering to regulations, utilizing appropriate equipment, and avoiding unfair advantages. Respect for wildlife extends beyond the hunt, encompassing conservation efforts and habitat preservation. Hunters demonstrate respect by minimizing disturbance, properly handling harvested game, and supporting organizations dedicated to wildlife management. Upholding fair chase and demonstrating respect for wildlife are paramount to responsible hunting. This commitment ensures the long-term sustainability of pronghorn populations and promotes ethical conduct among hunters, contributing to a positive image of the sport.
Success Stories and Testimonials
Discover inspiring success stories from guided pronghorn hunts. Read testimonials highlighting exceptional experiences, skilled guides, and memorable harvests. Learn how outfitters deliver unforgettable adventures, creating lasting memories for hunters of all skill levels.
Experiences from Guided Pronghorn Hunts
Hunters often share remarkable experiences from guided pronghorn hunts, praising the expertise of outfitters. Many emphasize the value of local knowledge, leading to successful harvests and memorable moments. First-time hunters appreciate the guidance in navigating unfamiliar terrain and understanding pronghorn behavior. Seasoned hunters value the efficiency and access to prime hunting locations. Positive testimonials frequently mention the camaraderie among hunters and guides, creating a supportive and enjoyable atmosphere. The dedication of outfitters in ensuring ethical and responsible hunting practices is also consistently highlighted. Overall, guided hunts provide unparalleled opportunities for unforgettable pronghorn hunting experiences.
Post-Hunt Considerations
After a successful pronghorn hunt, consider taxidermy to preserve your trophy. Plan for meat processing to enjoy the harvest. Ethical disposal of remains and land stewardship are essential responsibilities.
Taxidermy and Meat Processing
Following a successful pronghorn hunt, hunters face important decisions regarding the processing of their harvest. Taxidermy offers a way to preserve the memory of the hunt, showcasing the animal’s unique features. Selecting a reputable taxidermist is crucial to ensure quality and attention to detail. Simultaneously, processing the meat provides a sustainable and rewarding use of the animal. Hunters should research local meat processors experienced with game animals. Proper handling and storage of the meat are vital to prevent spoilage. Consider your preferences for cuts and processing styles to maximize enjoyment of your harvested pronghorn.