Understanding the Victorian Disabled Parking Permit Application
Victorian disabled parking permits aid individuals with mobility challenges‚ offering easier access to vital locations․ Permanent and temporary options exist‚ requiring a completed PDF application form․
What is a Victorian Disabled Parking Permit?
Victorian Disabled Parking Permits are government-issued authorisations enabling individuals with significant mobility difficulties to utilise designated parking spaces closer to destinations․ These spaces minimise walking distances‚ enhancing independence and participation in daily life․ Obtaining a permit requires demonstrating a qualifying disability impacting mobility‚ assessed by a registered medical professional․
The permits aren’t simply for convenience; they are crucial for those with conditions that make walking substantial distances extremely challenging or impossible․ The Victorian system offers both permanent and temporary permits‚ catering to varying needs and medical prognoses․ Applying typically involves completing a PDF application form‚ supported by medical evidence and proof of identity‚ ensuring a fair and consistent process․
Eligibility Criteria for a Permit
Eligibility for a Victorian Disabled Parking Permit hinges on possessing a diagnosed medical condition that significantly impacts your mobility․ This isn’t limited to physical disabilities; conditions affecting stamina‚ balance‚ or coordination can also qualify․ Applicants must demonstrate an inability to walk more than 220 meters without needing frequent rests‚ or possess a severe vision impairment․
A registered medical practitioner must complete a specific section of the PDF application form‚ detailing the nature of the disability and its impact on mobility․ Simply having a disability isn’t enough; the assessment focuses on the functional limitations it imposes․ The completed form‚ alongside identity verification and vehicle details‚ forms the basis of the eligibility determination․
Types of Permits Available
Victoria offers two primary types of Disabled Parking Permits‚ detailed within the PDF application form․ Permanent permits are issued to individuals with long-term‚ stable medical conditions causing significant mobility limitations․ These permits are typically valid for five years and require renewal․
Temporary permits cater to those with short-term disabilities‚ such as post-operative recovery or a temporary injury․ Their validity period varies‚ ranging from a few weeks to several months‚ as determined by the assessing medical professional․ The application process‚ outlined in the PDF‚ is similar for both‚ but the supporting medical evidence requirements differ based on the permit type sought․
Permanent Disabled Parking Permits
Permanent Disabled Parking Permits in Victoria‚ applied for via the official PDF form‚ are designed for individuals experiencing enduring mobility impairments․ These permits typically have a five-year validity period before requiring renewal‚ as detailed within the application documentation․
Eligibility necessitates a diagnosis of a significant and lasting condition impacting walking distances․ The PDF application requires comprehensive medical assessment documentation confirming this long-term need․ Successful applicants gain access to designated disabled parking spaces‚ enhancing independence and accessibility․ The completed form‚ alongside supporting evidence‚ must be submitted according to guidelines outlined in the PDF․
Temporary Disabled Parking Permits
Temporary Disabled Parking Permits in Victoria‚ obtained through the official PDF application‚ cater to individuals with short-term mobility restrictions; These permits are ideal for recovery from surgery‚ acute illness‚ or temporary injuries‚ offering crucial parking access during the healing process․
The PDF application requires a medical professional’s assessment outlining the nature and expected duration of the disability․ Permit validity periods vary based on the medical prognosis‚ ranging from weeks to months․ Completing the PDF form accurately‚ with supporting medical documentation‚ is vital for a swift approval․ These permits provide essential support‚ ensuring accessibility while recovering from a temporary condition․
The Application Process: A Step-by-Step Guide
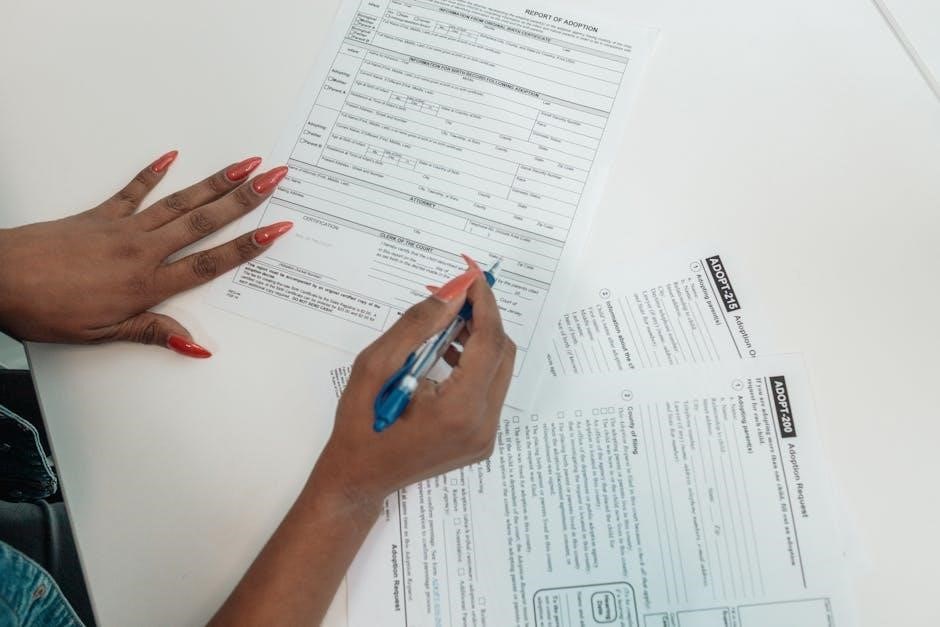
Applying for a Victorian Disabled Parking Permit involves a structured process‚ beginning with obtaining the official PDF application form․ Next‚ gather all required documentation – a completed Medical Assessment Form‚ proof of identity‚ and vehicle registration details․
Carefully fill out each section of the PDF form‚ ensuring accuracy and completeness․ Once prepared‚ you can choose between online submission via the relevant VicRoads portal or mail-in submission to the designated address․ Allow sufficient processing time for assessment; permit delivery follows approval․ Following these steps ensures a smooth application experience․
Completing the Victorian Disabled Parking Permit Application Form (PDF)
Successfully completing the Victorian PDF form requires accurate details‚ medical assessment results‚ and vehicle information; Submit all requested documentation for review․
Locating the Official PDF Form
Finding the official Victorian Disabled Parking Permit application form (PDF) is the crucial first step in the process․ The most reliable source is the VicRoads website‚ the Victorian government authority responsible for registration and licensing․ Navigate to their official website – www․vicroads․vic․gov․au – and use the search function‚ typing in “Disabled Parking Permit Application Form” or similar keywords․
Alternatively‚ you can directly access the form through dedicated pages on the VicRoads site related to disability access․ Ensure you are downloading the most current version of the form‚ as updates occur periodically․ Be cautious of third-party websites offering the form‚ as these may be outdated or contain inaccuracies․ Downloading directly from VicRoads guarantees you have the correct and official document needed for a successful application․
Required Documentation
Submitting a complete Victorian Disabled Parking Permit application necessitates gathering several key documents․ Firstly‚ a Medical Assessment Form‚ completed and signed by a registered medical practitioner‚ is essential․ This form details the nature and severity of your disability impacting mobility․ Secondly‚ you must provide Proof of Identity‚ such as a current driver’s license‚ passport‚ or other government-issued photo identification․
Finally‚ Vehicle Registration Details are required‚ including the vehicle registration certificate․ Ensure all documentation is clear‚ legible‚ and current․ Copies are generally acceptable‚ but VicRoads may request originals if needed․ Thorough preparation of these documents streamlines the application process and minimizes potential delays․ Missing documentation is a common cause for application rejection․
Medical Assessment Form
The Medical Assessment Form is a crucial component of the Victorian Disabled Parking Permit application․ It must be completed by a registered medical practitioner – a doctor‚ specialist‚ or other authorized healthcare professional․ This form requires a detailed assessment of your functional mobility‚ specifically how your disability impacts your ability to walk distances․
The practitioner will assess your walking capacity‚ need for mobility aids (like wheelchairs or walkers)‚ and any limitations affecting safe parking access․ The form isn’t simply a diagnosis; it focuses on functional impact․ Ensure your doctor understands the permit’s criteria․ A fully and accurately completed form significantly increases your application’s success rate․
Proof of Identity
Submitting valid Proof of Identity is essential when applying for a Victorian Disabled Parking Permit․ Acceptable documents typically include a current Australian driver’s license‚ a passport‚ or a government-issued photo identification card․ The document must be original or a certified copy – photocopies are generally not accepted․
Ensure the name and address on your identification match the details provided on the application form․ If your current address differs from that on your ID‚ you’ll need to provide additional documentation‚ such as a recent utility bill or bank statement‚ to verify your current residency․ Accurate identification verification streamlines the application process․
Vehicle Registration Details
Providing accurate Vehicle Registration Details is a crucial step in the Victorian Disabled Parking Permit application․ You will need to supply the vehicle registration number‚ the registered owner’s name‚ and the vehicle’s make and model․ This information must precisely match the details recorded with VicRoads․
If the vehicle is not registered in your name‚ you must provide a statutory declaration explaining the reason – for example‚ if it’s a company vehicle or registered to a family member․ A copy of the vehicle’s current registration certificate is also required․ Ensure all details are legible and accurate to avoid delays in processing your application․
Filling Out the Application Form
Completing the Victorian Disabled Parking Permit application form (PDF) requires careful attention to detail․ Ensure all sections are fully and accurately filled out‚ using black ink if submitting a physical copy․ The form is divided into three key sections: Applicant Details‚ Medical Information‚ and Vehicle Information;
Read each question thoroughly before answering․ Incorrect or incomplete information can lead to significant processing delays․ Double-check all entered data‚ especially personal details and vehicle registration numbers․ Supporting documentation‚ as outlined in the form’s instructions‚ must be attached․ Legible handwriting is essential for paper submissions;
Section 1: Applicant Details
Section 1 of the Victorian Disabled Parking Permit application form (PDF) focuses on gathering your personal information․ This includes your full legal name‚ date of birth‚ current residential address‚ and contact details – phone number and email address․ Accurate contact information is crucial for permit updates and communication․
You will also need to provide your driver’s license number and issuing state/territory․ If you do not hold a driver’s license‚ details of a nominated driver may be required․ Ensure all details match your official identification documents․ Providing false or misleading information can invalidate your application․
Section 2: Medical Information
Section 2 of the Victorian Disabled Parking Permit application (PDF) requires comprehensive medical details․ A qualified medical professional must complete the Medical Assessment Form‚ detailing the nature of your disability and its impact on your mobility․ This section assesses your ability to walk safely and independently․
The form asks about the distance you can walk before needing rest‚ whether you require assistive devices like wheelchairs or walkers‚ and if your condition is permanent or temporary․ Specific diagnoses aren’t always necessary‚ but a clear explanation of functional limitations is vital․ Honest and accurate medical information is essential for a successful application․
Section 3: Vehicle Information
Section 3 of the Victorian Disabled Parking Permit application (PDF) focuses on the vehicle(s) to which the permit will apply․ You must provide accurate Vehicle Registration Details for each vehicle‚ including the registration number‚ make‚ and model․ This section confirms you are the registered operator or have legal access to the vehicle․
You can nominate up to two vehicles for a permanent permit․ If applying for a temporary permit‚ the vehicle details are particularly important as the permit is usually vehicle-specific․ Ensure the information matches your current vehicle registration certificate․ Incorrect details may cause delays or rejection of your application․

Submitting Your Application
Completed Victorian Disabled Parking Permit applications (PDF form) can be submitted online or via mail-in methods‚ ensuring all required documentation accompanies your request․
Submission Methods
Submitting your Victorian Disabled Parking Permit application is conveniently facilitated through two primary methods․ Firstly‚ an online submission pathway exists‚ allowing applicants to upload their completed PDF form and supporting documentation directly through the relevant VicRoads portal․ This offers a streamlined and often quicker processing time․
Alternatively‚ a traditional mail-in submission option remains available․ Applicants can print the completed PDF application form‚ gather all necessary documents – including medical assessments and proof of identity – and post them to the designated VicRoads address․ Ensure sufficient postage is applied and consider registered mail for tracking purposes․ Regardless of the chosen method‚ retaining a copy of your submitted application and all supporting documents is strongly advised for your records․
Online Submission
Online submission of your Victorian Disabled Parking Permit application‚ completed as a PDF‚ offers a fast and efficient route․ Access the VicRoads online portal – typically requiring a MyVicRoads account – and navigate to the designated section for permit applications․ Carefully upload your scanned PDF form‚ ensuring all pages are clear and legible․
Supporting documentation‚ such as the Medical Assessment Form and Proof of Identity‚ must also be uploaded in accepted digital formats (e․g;‚ JPG‚ PNG)․ The system will likely provide file size limitations‚ so compress files if necessary․ Upon submission‚ you’ll receive a confirmation email with a tracking number․ This allows you to monitor the application’s progress online․ Ensure your antivirus software is up-to-date before uploading any sensitive documents․
Mail-in Submission
If online submission isn’t feasible‚ you can submit your completed Victorian Disabled Parking Permit application PDF via postal mail․ Download‚ print‚ and meticulously fill out the official PDF form․ Gather all required supporting documents – the Medical Assessment Form‚ Proof of Identity‚ and Vehicle Registration Details – ensuring they are photocopied for your records․
Place the completed application form and all supporting documentation in a secure envelope․ Address the envelope to the designated VicRoads address specified on the application form or VicRoads website․ Consider using registered post or express mail for tracking and proof of delivery․ Retain the tracking number and a copy of your submitted application for your records․ Processing times for mail-in applications are generally longer than online submissions․
Processing Time and Permit Delivery
Once your Victorian Disabled Parking Permit application PDF is submitted – either online or via mail – processing times can vary․ Online applications generally experience faster processing‚ often within 10-15 business days․ Mail-in submissions typically take longer‚ potentially up to 20-30 business days‚ due to handling and verification procedures․
VicRoads will notify you of the application outcome via mail or email‚ depending on your provided contact details․ Upon approval‚ your permit will be mailed to your registered address․ Ensure this address is current and accurate․ The permit package includes the physical permit and accompanying instructions; Allow additional time for delivery via postal services․
Understanding Permit Conditions and Regulations
Victorian disabled parking permits have specific usage guidelines․ Correct display is crucial‚ and misuse carries penalties․ Adherence ensures accessibility for those with disabilities․
Displaying Your Permit Correctly
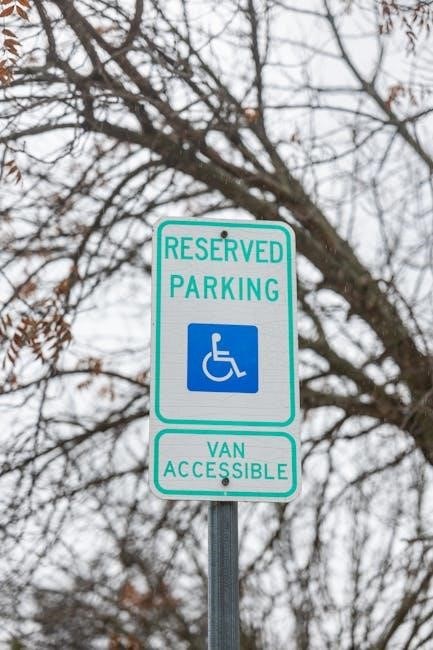
Proper display of your Victorian Disabled Parking Permit is essential for its validity and to avoid potential fines․ The permit must be clearly visible from both the front and rear windscreens of your vehicle․ Ensure it’s not obscured by anything – such as stickers‚ dirt‚ or reflections – that could hinder its clear identification by enforcement officers․
The permit should be hung or affixed in a designated area‚ typically the lower right-hand corner of the windscreen‚ as viewed from outside the vehicle․ If your vehicle doesn’t have a traditional windscreen‚ consult the VicRoads guidelines for alternative display methods․ Always ensure the permit’s details – including the expiry date and permit number – are readily legible․ Incorrect display can lead to infringement notices‚ even if you are a legitimate permit holder․
Permit Usage Guidelines
Victorian Disabled Parking Permits are strictly for the use of the person to whom the permit was issued‚ not family members or friends‚ unless specifically authorized on the permit itself․ The permit must only be used when the permit holder is being driven to or from a destination‚ or is a passenger in the vehicle․
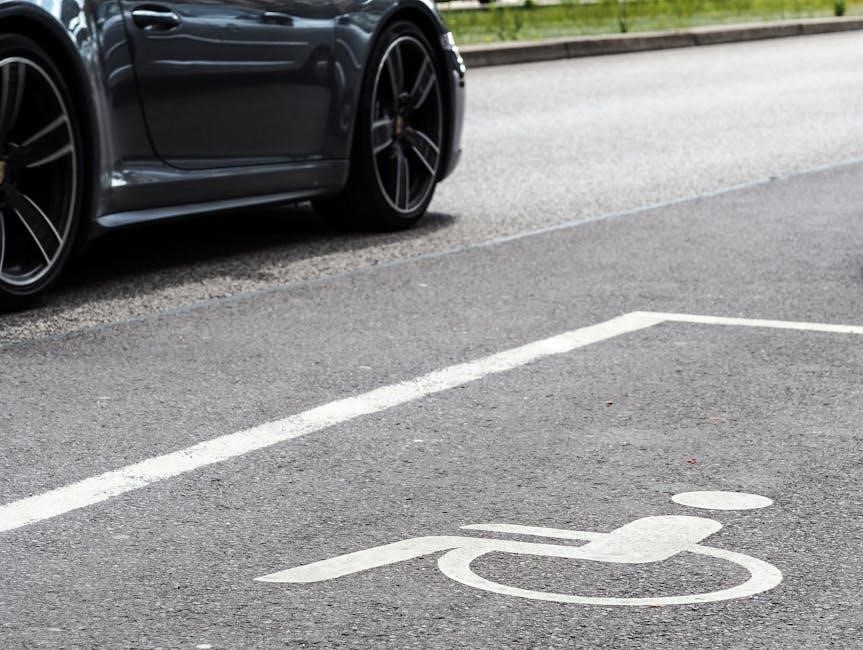
Permits cannot be used while the permit holder is not present in the vehicle‚ such as for reserving parking spaces․ Parking is permitted in designated disabled parking bays‚ and in some cases‚ metered parking zones – check signage for specific restrictions․ Misuse of the permit‚ including lending it to others or using it inappropriately‚ can result in significant penalties and potential revocation of the permit․
Penalties for Misuse

Misusing a Victorian Disabled Parking Permit carries substantial penalties‚ reflecting the seriousness of depriving legitimate permit holders of necessary access․ Unauthorized use‚ such as lending the permit to someone ineligible‚ can result in fines exceeding $220‚ and potentially escalating to over $880 for repeat offenses․
Furthermore‚ the permit itself can be revoked‚ leaving the original holder without parking privileges․ Vehicle impoundment is also a possibility in severe cases of misuse․ Courts may impose additional penalties‚ including community service orders․ Reporting suspected misuse is encouraged to ensure fair access for those genuinely needing these facilities․ Honest and responsible permit usage is crucial․

Renewing or Replacing Your Permit
Permit renewal or replacement involves submitting a new PDF application‚ potentially with updated medical assessments․ Lost or stolen permits require immediate reporting and a replacement request․
Renewal Process for Permanent Permits
Renewing a Victorian permanent disabled parking permit typically involves a reassessment of your medical condition to ensure continued eligibility․ While not always automatic‚ VicRoads will generally send a renewal notice before your permit expires‚ prompting you to submit an updated PDF application form․
This form‚ available online‚ requires a current Medical Assessment Form completed by your treating physician․ It’s crucial to provide detailed information about your ongoing mobility limitations․ Supporting documentation‚ like recent specialist reports‚ can strengthen your application․
Submit the completed PDF form and supporting documents via mail or‚ if available‚ through an online portal․ Processing times can vary‚ so apply well in advance of your permit’s expiration date to avoid any interruption in parking privileges․ Failure to renew before expiry necessitates a full new application․

Replacing a Lost or Stolen Permit
If your Victorian disabled parking permit is lost or stolen‚ prompt action is essential․ You must report the loss or theft to VicRoads immediately to prevent potential misuse․ A replacement permit won’t be issued without this notification․
To obtain a replacement‚ you’ll generally need to complete a specific section of the standard Victorian disabled parking permit application PDF form‚ detailing the circumstances of the loss or theft․ A statutory declaration may also be required‚ confirming the incident․
Submit the completed PDF form and any supporting documentation via mail or the online portal‚ if available․ A replacement fee may apply․ Processing times vary‚ but VicRoads aims to issue replacements quickly to minimize disruption․ Remember‚ using a damaged or altered permit is illegal․